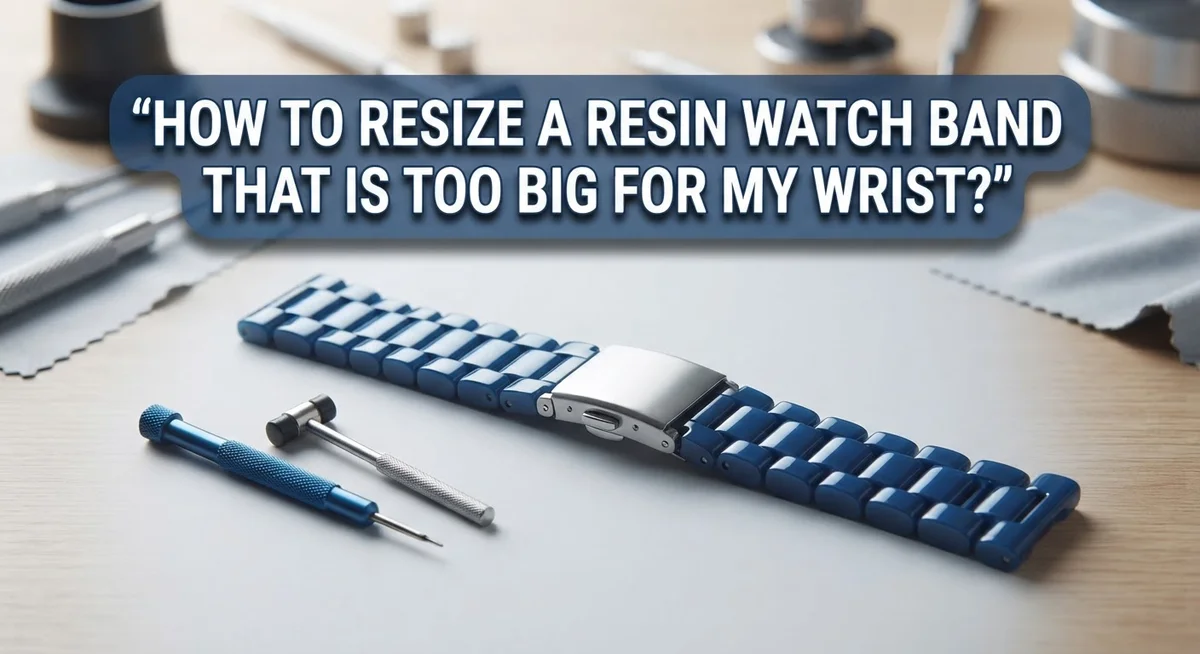
How To Resize A Resin Watch Band That Is Too Big For Your Wrist
A resin watch band that slides around your wrist is more than just annoying. It looks sloppy and can affect how well your watch sits on your arm.
The good news is that resizing a resin watch band is something you can do at home. You do not need to visit a jeweler or spend money on professional services.
Most resin and rubber bands are designed to be trimmed down to size. Many even come with small cut indicators already marked on the band to guide you.
In a Nutshell
- Measure your wrist first before cutting anything. Getting this step right is the most important part of the whole process.
- Most resin watch bands can be trimmed at home using a sharp knife or blade. No special equipment is needed.
- Many resin and rubber bands already have cut indicators printed or molded into them. These small markings show you exactly where to trim.
- Always cut less than you think you need. You can always remove more material, but you cannot add it back once it is gone.
- A clean, straight cut matters for both fit and appearance. Rushing this step is the most common reason trims look uneven or rough.
- The goal is a snug but comfortable fit. The band should sit firmly on your wrist without sliding around or feeling too tight.
What Is a Resin Watch Band and Why Sizing Matters
Resin watch bands are made from synthetic rubber or plastic materials. They offer flexibility and durability for everyday wear. Unlike metal bands, resin straps can stretch and shift over time, especially if your band is oversized.
Why sizing matters for resin bands is simple. A loose band slides around your wrist and looks sloppy. It also feels uncomfortable during daily activities. Your watch may rotate or slip off entirely. On the flip side, a band that is too tight cuts off circulation and causes discomfort.
The right fit keeps your watch secure and comfortable. Your band should sit snugly on your wrist without gaps. You should be able to slide one finger underneath when worn. This balance prevents the watch from moving around while still allowing proper blood flow.
Resin bands differ from metal bands because they can be trimmed easily at home. Metal bands require special tools and expertise to resize properly. Resin materials cut cleanly with basic sharp tools. Many manufacturers design these bands with trimming in mind.
Understanding your band’s construction helps you resize it correctly. Most resin bands have a solid core material. Some bands include fabric or additional layers underneath. Knowing what your band is made of helps you choose the right cutting technique.
Proper sizing also extends your watch’s lifespan. A loose band causes excessive movement that stresses the lugs and case. A well fitted band reduces strain on your entire watch. Taking time to resize your band correctly pays off in comfort and longevity. This is why measuring carefully before you cut matters so much.
Tools You Need Before You Start
Before you start trimming your resin watch band, gather the right tools. Having everything ready makes the process faster and safer.
You will need a sharp knife or blade as your primary cutting tool. A utility knife works well because the blade stays sharp and gives you clean cuts. Make sure your knife is actually sharp. A dull blade tears the resin instead of cutting it smoothly, which ruins the appearance of your band.
Get a ruler or measuring tape. You need this to measure your wrist and mark exactly where to cut. A standard ruler gives you straight lines to follow. Some people prefer a flexible measuring tape for wrist measurement, then switch to a ruler for marking cut lines.
Find a cutting surface to protect your work area. A cutting mat or wooden board prevents damage to your table. This also gives your knife something to grip into for cleaner cuts.
Grab a marker or pen to mark your cut line on the band. Use something that shows up clearly on your resin material. You want to see exactly where your blade will go.
Have sandpaper or a file ready for after you cut. These tools smooth rough edges left behind by the knife. Fine grit sandpaper (around 220 grit or higher) works best for resin materials.
Keep a cloth nearby to wipe away dust and debris as you work. This helps you see your cut line clearly during the process.
Optional but helpful: a clamp or vice to hold your band steady while cutting. Steady bands produce straighter cuts. Some people use their hands, but a clamp gives you better control and safety.
How To Measure Your Wrist Accurately for a Perfect Fit
Measuring your wrist accurately is the most important step before you cut anything. A wrong measurement leads to a band that is either still too loose or uncomfortably tight. Take your time here and avoid rushing.
Start by using a soft measuring tape or a thin strip of paper. Wrap it around your wrist where you normally wear your watch. The band should sit just above your wrist bone, not too high and not too low. This is your natural watch position.
Make sure the tape or paper is snug but not tight. You should be able to fit one finger underneath it comfortably. This gives you the proper reference point for how loose your band should feel when finished.
Write down the measurement in both inches and centimeters. Double check the number by measuring again. Most people find a different result the second time, so verify your measurement at least twice.
Now measure your current watch band from the clasp or attachment point to where it currently sits on your wrist. This shows you how much extra length you have. Subtract your ideal wrist measurement from this number. The result tells you exactly how much material to remove.
Mark this amount clearly on your band with a pen or marker. Make the line straight and visible so you know where to cut. Some bands have pre marked cut zones already printed on them. Check your band first before making your own marks.
Remember that you can always remove more material later. It is better to cut less than you need and make a second trim than to cut too much and ruin your band permanently.
How To Identify the Cut Zone on Your Resin Band
Your resin watch band likely has visual guides to help you find the right place to cut. These guides appear as small lines, dots, or markings printed or molded directly into the rubber material.
Look for these cut zone indicators on the underside of your band first. Manufacturers often place them there to keep the top surface clean and attractive. You may see evenly spaced marks that show where previous owners have cut their bands.
Some resin bands have numbered sections. These numbers tell you how many links or segments to remove. Count from the clasp end of the band and stop at your target number.
Check for small notches or dimples along the band’s edge. These physical markers show you exactly where to position your knife. They guide your blade to cut in a straight line without wandering.
Examine the band’s thickness at different points. Cut zones are often slightly thinner than the rest of the band. This design feature makes cutting easier and creates a cleaner edge.
If your band has no visible guides, measure the distance between the clasp and your wrist mark. Divide this measurement by the band’s segment size to find your cut zone.
Hold your band up to light and look carefully at both sides. Sometimes guides are subtle and easy to miss. A magnifying glass helps you spot faint markings.
Test the fit before cutting by wrapping the band around your wrist and noting where it should end. Mark this spot with your pen. This becomes your personal cut zone.
Take photos of any existing cut zones on your band. These images show you the proper cutting style and angle for your specific band type.
Step-by-Step Guide To Cutting and Resizing Your Resin Watch Band
Now that you have identified your cut zone and gathered your tools, it’s time to perform the actual cut. This step requires focus and precision to achieve a clean result.
Position your resin band on a stable cutting surface. Make sure the area is flat and won’t move during cutting. If you have a clamp or vice, use it to hold the band firmly in place. This prevents slipping and keeps your hands safe from the blade.
Mark your cut line clearly with your pen or marker. Use your ruler to ensure the line is straight across the band. Double check that this line matches your wrist measurement from earlier. Take a moment to verify before you proceed.
Hold your sharp knife at a slight angle to the band. A 45 degree angle often works best for resin material. Apply steady, even pressure as you cut through the band. Avoid pressing too hard or sawing back and forth, as this creates rough edges.
Cut slowly and deliberately. Rush work leads to uneven cuts and damaged edges. Move the blade in one smooth motion rather than multiple passes if possible. Listen for the sound of the blade cutting through the material to gauge your progress.
Once you cut through completely, stop immediately. Remove the excess piece carefully from your work area. Inspect your cut edge right away. Look for any rough spots, splinters, or jagged areas along the newly cut edge.
If the cut looks uneven or rough, don’t worry. You have sandpaper and files ready for the next step. Clean away any dust or debris with your cloth before moving forward to smooth the edges.
How To Smooth and Finish the Cut Edge for a Clean Look
After you cut through your resin band, the edge will likely look rough or jagged. This is completely normal. The cut edge needs attention to look polished and professional.
Start by examining your cut edge closely. Look for any rough spots, splinters, or uneven areas. Run your finger gently along the edge to feel for sharp points. This helps you identify problem areas before smoothing.
Use fine grit sandpaper to smooth the edge. Start with a medium grit around 120 to 150. Sand in one direction along the cut edge. Apply light pressure and make several passes. Don’t rush this step because patience creates better results.
Move to a higher grit sandpaper next, such as 220 or 320 grit. This finer paper removes the scratches left by the coarser sandpaper. Sand for several minutes until the edge feels smooth to your touch.
For a truly polished finish, use 400 grit or higher sandpaper. This creates a refined appearance that looks almost professional. The edge will feel silky smooth when you’re done.
Wipe away all dust and debris with a damp cloth. Let the band dry completely before wearing it. Some people apply a thin coat of clear resin sealant to the cut edge for extra protection and shine. This step is optional but helps prevent future fraying.
Test the fit one more time before you consider the job complete. The smoothed edge should feel comfortable against your skin. Your resin watch band now looks intentional and well finished, not like you simply hacked it with a knife.
Common Mistakes To Avoid When Resizing a Resin Watch Band
The most common mistake people make is measuring their wrist incorrectly. You need an accurate measurement to know exactly how much resin to remove. Many people guess or eyeball the fit, which leads to cutting too much or too little material.
Rushing through the measurement process causes most problems. Take your time and measure multiple times. Wrap the band around your wrist gently, not too tight and not too loose. Mark where the band should end with a pen. Measure this distance carefully before you cut anything.
Another frequent error is using dull cutting tools. A dull knife or blade creates rough, jagged edges that look unprofessional. The cut edge also becomes harder to smooth later. Always use a sharp knife or cutting tool to get clean edges on the first try.
People often forget to check for cut zone indicators on their band. Many resin watch bands have pre marked guides or notches showing where you should cut. Ignoring these guides means you might cut in the wrong spot. Examine both the top and bottom of your band carefully before making any cuts.
Over cutting is a serious mistake because you cannot add resin material back. Start by removing less material than you think you need. You can always remove more later if the fit is still too loose. Cutting too much means your band becomes permanently too small.
Finally, many people skip the finishing step. A rough cut edge looks bad and can feel uncomfortable on your skin. Always smooth the cut edge with sandpaper after cutting. This small extra step makes a huge difference in the final appearance and comfort of your watch band.
Troubleshooting: What To Do If the Band Still Does Not Fit Correctly
If your resin watch band still does not fit correctly after resizing, several troubleshooting steps can help. First, verify your measurements again by wrapping the band around your wrist in the exact position where you wear your watch. The band should sit snugly without cutting off circulation or sliding around loosely.
Check if you removed enough material. Sometimes bands need more trimming than initially expected. Measure the gap between your wrist and the band. If space exists, you may need to cut additional material. Mark a new cut line and repeat the process carefully.
Examine the finished edge for quality. A rough or uneven edge can affect how the band sits on your wrist. Use sandpaper to smooth any jagged areas that might prevent proper closure. An improperly finished edge sometimes catches on the clasp mechanism, preventing secure fastening.
Test the clasp functionality. Make sure the clasp closes completely and holds firmly. If the band is too short, the clasp cannot engage properly. If too long, the clasp may not catch the final link correctly.
Consider the band’s flexibility. Resin bands vary in stiffness. A stiffer band may feel tighter than expected. Gently flex and bend the band around your wrist to see if it adapts better with slight warming or movement.
If the band still does not fit after these checks, you may have removed too much material. In this case, the band cannot be lengthened again. You would need to explore other solutions like using a watch strap adjustment tool or consulting with a professional watch repair service for additional options.
Final Thoughts
Resizing a resin watch band at home is a straightforward process when you take your time. Careful measurement and clean cutting are the two most important skills you need.
The steps covered in this guide work for most standard resin and rubber watch bands. Measure your wrist accurately, identify the correct cut zone, and use a sharp knife for a clean result.
Finishing the edge properly makes a big difference in how the band looks and feels. Sanding through progressively finer grits gives you a smooth, comfortable edge that sits well against your skin.
Avoid the common mistakes that cause problems. Rushing measurements, using dull tools, and skipping the finishing step are the three errors that ruin most resizing attempts.
If your band still does not fit after your first attempt, go back through the troubleshooting steps. Check your measurements again before making any additional cuts. You can always remove more material, but you cannot put it back.
Some people worry that a DIY resize will look unprofessional. With patience and the right technique, the finished result can look very clean. The sanding and polishing steps are what separate a rough cut from a neat one.
Take your time with every stage of this process. A few extra minutes spent measuring and finishing will save you from frustration later.
This skill is genuinely useful to have. Watch bands stretch and change over time, and knowing how to resize your own band gives you full control over your comfort. With practice, the entire process becomes quick and easy to repeat whenever you need it.
Frequently Asked Questions
How do I know exactly how much resin to remove from my watch band?
Measure your wrist with a soft tape measure. Wrap it snugly around your wrist where you normally wear the watch. Write down this measurement. Next, measure your current watch band from the clasp to the last hole or end point. Subtract your wrist measurement from the band length. This number tells you exactly how much material to remove.
Take your time with this step. Rushing measurements causes most sizing problems. Measure twice to confirm accuracy before you cut anything.
What if my resin band has markings or lines on it?
Many resin and rubber watch bands include pre marked cut zones. These guides show you the safe areas to trim. Look for dotted lines, numbers, or colored zones on the underside of your band.
Check your band carefully before cutting. If you see these indicators, use them as your cutting guide. They help ensure a clean, professional result. If your band has no markings, use your measurement calculation to mark the cut line with a pencil or pen.
Can I make the cut look neat and finished?
Yes, you can achieve a clean appearance with the right approach. Use a sharp knife for a smooth cut. After cutting, sand the edge with progressively finer sandpaper grades.
Start with coarser grit and work toward finer grits. This removes rough spots and creates a polished edge. Wipe away all dust with a damp cloth when finished.
Why does my band still feel loose after I cut it?
Check your measurement math again. Verify that you removed the correct amount of material. Test the fit by fastening the clasp on your wrist.

Hi, I’m Lucy Jones, a dedicated watch enthusiast and reviewer. I spend my time hunting down, testing, and evaluating the most intriguing wristwatches on the market. My goal is to guide you through the overwhelming choices with honest, hands-on insights into every timepiece.