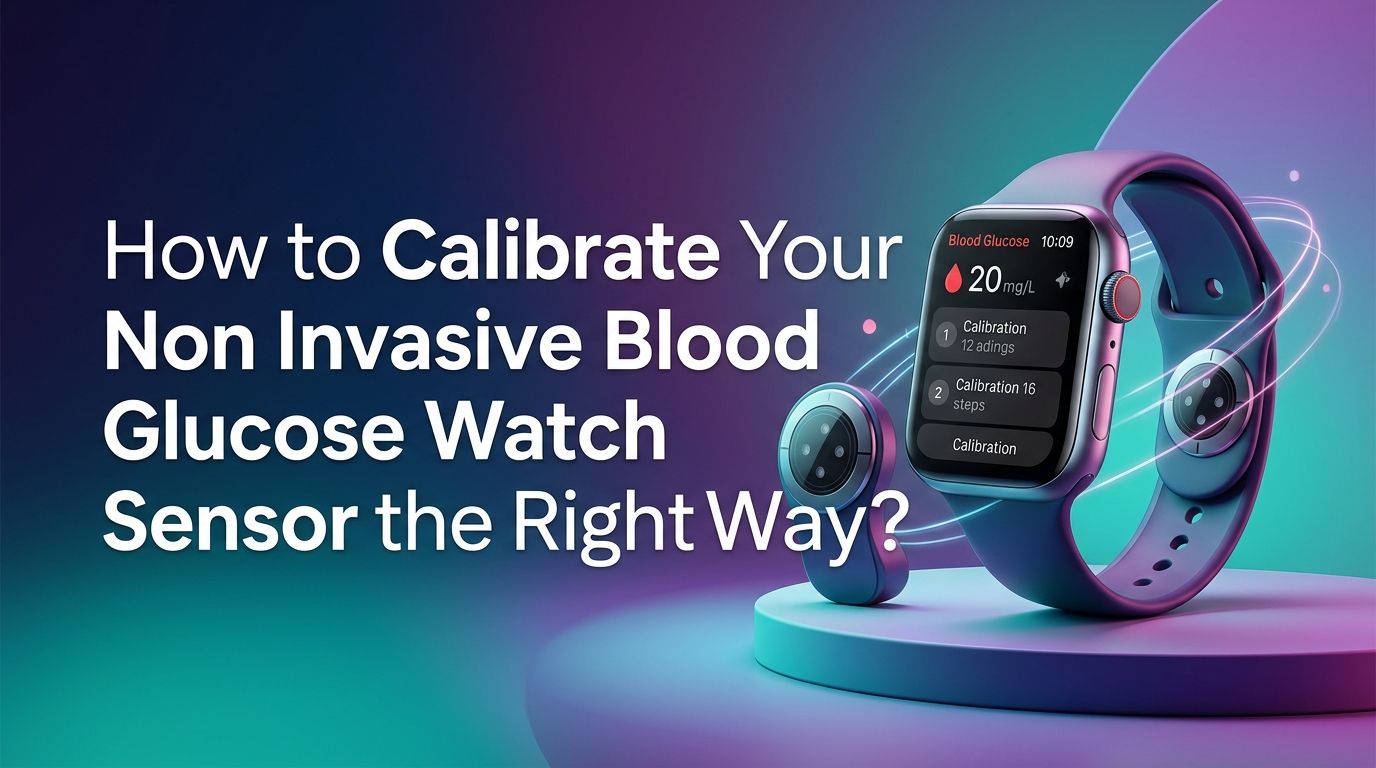
How to Calibrate Your Non Invasive Blood Glucose Watch Sensor the Right Way?
You just strapped on a shiny new glucose monitoring watch. The readings look exciting at first. But then you notice the numbers seem off. Your watch says 110 mg/dL, but a fingerstick test shows 145 mg/dL. What went wrong?
Calibration is the answer. A non invasive blood glucose watch sensor uses light, electrical signals, or sweat analysis to estimate your glucose levels through the skin. These methods are less direct than a traditional blood draw.
That means the sensor needs a reliable reference point to stay accurate. Without proper calibration, the readings can drift, mislead, and even cause you to make poor health decisions.
In a Nutshell
- Always calibrate with a traditional fingerstick glucose meter. Your watch sensor estimates glucose through indirect methods. A standard blood glucose meter gives you a direct measurement that serves as the reference point your watch needs for accurate tracking.
- Only calibrate when your glucose is stable. Performing calibration right after eating, exercising, or taking insulin leads to inaccurate reference values. Wait at least two hours after meals or physical activity. Morning fasting and bedtime are the two best windows for stable calibration.
- Wash your hands before every fingerstick. Residue from food, lotion, or sweat on your fingertips can produce a false reading on your meter. That false value then trains your watch sensor in the wrong direction, making every future reading less reliable.
- Expect lower accuracy on day one. Most sensors need a “warm up” period of 12 to 24 hours after you start wearing them. Readings during this window are often unreliable. Give the sensor time to settle before judging its performance or making health decisions based on its data.
- Recalibrate regularly, not just once. Sensor accuracy drifts over time due to skin changes, sweat, temperature shifts, and wear. Calibrating every 12 to 24 hours keeps your readings close to the true value and prevents gradual error buildup.
- Understand the limits of the technology. Non invasive glucose watches are wellness tools, not medical devices. Use calibrated readings for trend awareness and lifestyle adjustments, but rely on a clinician approved meter for treatment decisions.
How Does a Non Invasive Glucose Watch Sensor Actually Work?
Most glucose watch sensors use one of three methods to estimate blood sugar. Optical sensors shine light through the skin and measure how glucose molecules absorb or scatter that light. Bioimpedance sensors send a tiny electrical current through the skin and detect changes in tissue resistance caused by glucose concentration. Sweat based sensors analyze the glucose present in perspiration using electrochemical reactions.
Each method reads glucose indirectly. Unlike a fingerstick meter that tests blood directly, these watches estimate glucose from signals that are influenced by many variables. Skin thickness, hydration, temperature, and even skin color can affect the raw data.
This is why calibration matters so much. The watch needs a known accurate glucose value to anchor its indirect measurements. Without that anchor, the algorithm has no way to correct for individual differences in your skin, tissue, and physiology.
How Do You Prepare for an Accurate Calibration?
Preparation makes or breaks your calibration. Start by gathering a reliable fingerstick blood glucose meter and fresh test strips that have not expired. Store your test strips at room temperature and away from moisture, as environmental damage reduces their accuracy.
Wash your hands thoroughly with soap and warm water. Dry them completely. Even trace amounts of sugar from fruit, juice, or hand sanitizer with alcohol can spike your meter reading by 10 to 50 mg/dL. If you cannot wash your hands, wipe the first drop of blood away and test the second drop instead.
Make sure your watch sits snugly on your wrist. A loose fit creates gaps between the sensor and your skin. Those gaps let ambient light interfere with optical sensors and reduce skin contact for bioimpedance readings. A firm but comfortable fit on clean, dry skin gives the sensor the best signal quality before you enter your calibration value.
How Do You Perform the First Calibration Correctly?
After placing a new sensor or starting a fresh session, most watches require a warm up period of one to two hours. During this time, the sensor adjusts to your skin chemistry. Do not attempt to calibrate during this window.
Once the warm up ends, open your watch’s companion app. Find the calibration or glucose monitoring section. Take a fingerstick reading with your blood glucose meter. Enter that exact value into the app within five minutes of taking the fingerstick. Speed matters because your glucose can change quickly, and a stale reference value reduces calibration quality.
Some apps let you enter the value manually. Others use Bluetooth to pull the number from a connected meter. Either way, confirm the number matches your meter screen before you submit it. A single wrong digit can shift every reading your watch produces for hours. Double check and save.
How Do You Choose the Best Time to Calibrate?
Timing is one of the biggest factors in calibration accuracy. Calibrate only when your glucose is stable, meaning it has not changed much in the last 20 to 30 minutes. Rapid rises or falls confuse the calibration algorithm because the fingerstick and the watch sensor measure glucose from different body compartments with a natural time lag.
The best calibration windows are first thing in the morning before eating and right before bed when glucose tends to be flat. Avoid calibrating within two hours of a meal, strenuous exercise, or an insulin dose. These events cause fast glucose swings that introduce error.
Pros of morning and bedtime calibration: Glucose is typically stable, hands are clean, and the routine is easy to remember. Cons: If you snack late at night or wake with a strong dawn phenomenon, the glucose may not be as flat as you assume. Always confirm stability with a fingerstick before trusting the window.
How Often Should You Recalibrate Your Watch Sensor?
A single calibration is not enough. Sensor signals drift as your skin changes throughout the day. Sweat, temperature, and even slight shifts in watch position can alter readings over time. Most experts recommend recalibrating every 12 to 24 hours to keep the watch sensor aligned with actual blood glucose.
If your readings start to differ from fingerstick checks by more than 15% to 20%, recalibrate immediately. Do not wait for the next scheduled window. This large gap means the sensor has drifted beyond acceptable limits and is giving you unreliable data.
Pros of frequent recalibration: Keeps readings close to true values. Helps you catch sensor drift early. Builds confidence in the data. Cons of frequent recalibration: Requires more fingersticks. Takes time. Can become tedious if you are already managing a busy routine. Find a balance that fits your schedule while keeping accuracy within a useful range.
How Do You Handle Day One Sensor Inaccuracy?
Day one is almost always the least accurate period for any glucose sensor. The sensor needs time to equilibrate with interstitial fluid and skin chemistry. Research and user experience consistently show that readings in the first 12 to 24 hours can be significantly off.
One effective trick is called “soaking the sensor.” If your watch allows you to wear the sensor without activating it, put it on several hours before you plan to start the session. This gives the sensor extra time to settle against your skin. When you finally activate it, the warm up period produces better initial data.
Be patient and cautious on day one. Do not make dietary or medication changes based solely on watch readings during this window. Cross check with a fingerstick meter for any decision that affects your health. Accuracy improves steadily over the next 24 to 48 hours as the sensor stabilizes.
How Do Skin Conditions and Environment Affect Calibration?
Your skin is a living, changing surface. Factors like hydration level, temperature, sweat production, and skin thickness all influence the signals your watch sensor collects. Dry skin reduces electrical conductivity for bioimpedance sensors. Excessive sweat can dilute or contaminate readings from sweat based sensors. Cold skin causes blood vessels to constrict, lowering glucose availability near the surface.
Keep your wrist clean and dry before calibrating. Avoid applying lotion, sunscreen, or insect repellent near the sensor area, as these chemicals change how light passes through the skin. If you have been exercising, let your skin cool and dry for at least 15 minutes before running a calibration.
Extreme ambient temperatures also matter. Very cold or very hot environments alter skin blood flow and sweat rates. If you move between drastically different environments, such as stepping from an air conditioned room into summer heat, wait for your body to adjust before recalibrating.
How Do You Troubleshoot Consistently Inaccurate Readings?
Sometimes your watch shows readings that are always too high or always too low compared to your meter. This consistent offset usually means the calibration has drifted or the sensor position has shifted. Start by performing a fresh calibration with a verified fingerstick reading taken on clean, dry hands.
If the offset persists, check the watch band tightness. A band that is too loose lets the sensor bounce and pick up noise. A band that is too tight restricts blood flow and changes the local glucose concentration. Aim for snug contact without leaving deep marks on your skin.
Try repositioning the watch slightly on your wrist. Sensor accuracy can vary by a few centimeters depending on vein placement and tissue density. If none of these steps fix the problem, the sensor itself may be faulty. Contact the manufacturer for a replacement if the device is still under warranty.
How Do You Compare Watch Readings with a Fingerstick Meter?
Direct comparisons between your watch and a fingerstick meter help you track calibration quality over time. Take a fingerstick reading and note the watch reading at the same moment. Record both numbers in a simple log or spreadsheet along with the date, time, and any relevant context like recent meals or exercise.
For readings above 100 mg/dL, a well calibrated watch should fall within 15% of the meter value. For readings below 100 mg/dL, the difference should be no more than 15 mg/dL. If you see a pattern of larger gaps, your calibration schedule may need to be more frequent.
Pros of keeping a comparison log: You build a personal accuracy profile. You spot drift early. You gain confidence in when the watch is reliable. Cons: It takes discipline. You still need fingerstick supplies. It adds another step to your daily routine. But the payoff in data quality is worth the small extra effort.
How Do You Understand the Limits of Non Invasive Glucose Watches?
Non invasive glucose watches are exciting technology, but they are not replacements for medical grade devices. The FDA has clearly stated that no smartwatch or smart ring is currently authorized to measure blood glucose independently. Academic studies have found accuracy rates (measured by MARD) ranging from 5.6% to over 20% across different commercial watches, with even worse performance in low glucose ranges.
Use your calibrated watch data for trend awareness and pattern recognition. It can help you notice how foods, sleep, and exercise affect your glucose over days and weeks. But do not use it to dose insulin, diagnose diabetes, or make urgent medical decisions.
Always confirm critical readings with a fingerstick meter. If your watch shows a dangerously low or high value, test with your meter before taking action. Think of the watch as a helpful companion that gives you direction, while the meter gives you the final answer.
How Do You Maintain Long Term Sensor Accuracy?
Long term accuracy depends on consistent habits. Build calibration into your daily routine so it becomes automatic. Morning and bedtime are easy anchors. Set a reminder on your phone if you tend to forget.
Replace sensors according to the manufacturer’s recommended schedule. Sensors degrade over time. Stretching a sensor beyond its rated lifespan may save money, but it usually costs you accuracy. Performance tends to decline noticeably in the final days of a sensor’s life.
Keep your watch firmware and companion app updated. Manufacturers push algorithm improvements and bug fixes through software updates. An outdated app may use an older calibration model that does not match your current sensor hardware. Check for updates at least once a month and install them promptly to benefit from the latest accuracy enhancements.
How Do You Stay Safe While Using a Glucose Watch?
Safety starts with realistic expectations. Never rely solely on a non invasive glucose watch for managing a serious medical condition. If you have diabetes and use insulin, always keep a traditional blood glucose meter within reach.
Share your glucose data with your healthcare provider. Many companion apps let you export reports that show trends, averages, and calibration history. Your doctor can use this data to help fine tune your management plan while understanding the device’s accuracy limitations.
If you experience symptoms of low or high blood sugar, trust your body first and the watch second. Symptoms like shakiness, sweating, confusion, or extreme thirst demand an immediate fingerstick check, regardless of what your watch screen shows. Technology is a powerful tool, but your body’s signals remain the most important alert system you have.
Frequently Asked Questions
How do I know if my glucose watch needs recalibration?
Compare your watch reading with a fingerstick meter value. If the difference is greater than 15% for readings above 100 mg/dL or more than 15 mg/dL for readings below 100, your sensor has drifted. Perform a new calibration using a reliable meter reading taken on clean, dry hands during a period of stable glucose.
Can I calibrate my glucose watch with a CGM instead of a fingerstick meter?
Some users attempt this, but a fingerstick blood glucose meter remains the gold standard reference for calibration. CGM readings themselves have a time lag and their own margin of error. Using a CGM to calibrate a watch can stack inaccuracies. A direct blood sample from a fingerstick gives the most reliable reference value.
Why are my watch readings worse right after I put on a new sensor?
New sensors need time to equilibrate with your skin and tissue. This warm up phase typically lasts 12 to 24 hours. During this time, readings can swing widely. Allow the sensor to settle before judging accuracy. Some users “soak” the sensor by wearing it for a few hours before activating it, which can improve early accuracy.
Does sweating during exercise ruin my calibration?
Heavy sweating changes the moisture and chemical composition on your skin surface. This can temporarily distort sensor readings. Do not calibrate during or immediately after intense exercise. Wait at least 15 to 30 minutes for your skin to dry and your glucose to stabilize before recalibrating.
Are non invasive glucose watches accurate enough for medical decisions?
Currently, no non invasive glucose watch has received FDA authorization for independent blood glucose measurement. These devices are best used for general trend monitoring and lifestyle insights. Always use a clinician approved blood glucose meter for medication dosing, diagnosis, or any critical health decision.

Hi, I’m Lucy Jones, a dedicated watch enthusiast and reviewer. I spend my time hunting down, testing, and evaluating the most intriguing wristwatches on the market. My goal is to guide you through the overwhelming choices with honest, hands-on insights into every timepiece.