How to Set Up Geofencing Alerts on a Kids GPS Tracking Watch?
Picture this. Your child walks home from school, and your phone buzzes the moment they reach the front gate. No frantic texts. No staring at a tracking app every five minutes.
That tiny notification is the magic of geofencing, and it lives inside most modern kids GPS watches. The catch? Setting it up correctly takes a little know how, because the default settings rarely match real life.
This guide walks you through everything you need to build safe zones that actually protect your kid without driving you crazy with constant pings.
In a Nutshell:
- Geofencing is a virtual circle, usually around 300 to 700 feet wide, that triggers a phone alert whenever your child enters or leaves the zone. It uses GPS, Wi Fi, and cellular signals together.
- Smaller is not always better. Tiny geofences trigger constant false alarms because consumer GPS is only accurate to about 16 feet. A radius that matches your child’s school yard or full block works far better.
- Always test your geofence in person before relying on it. Walk to the edge of the zone with the watch and check if the alert pings your phone within a reasonable time window.
- Notification delays are normal. Some watches send alerts instantly, while others wait for the next location refresh, which can take 5 to 10 minutes. Pick a refresh frequency that fits your needs.
- Battery life drops fast with frequent location pings. Balance accuracy with daily charge time so the watch does not die before school ends.
- Geofencing is one safety layer, not a complete solution. Combine it with regular check ins, SOS buttons, and calm conversations with your child about safety habits.
What Geofencing Actually Means on a Kids Watch
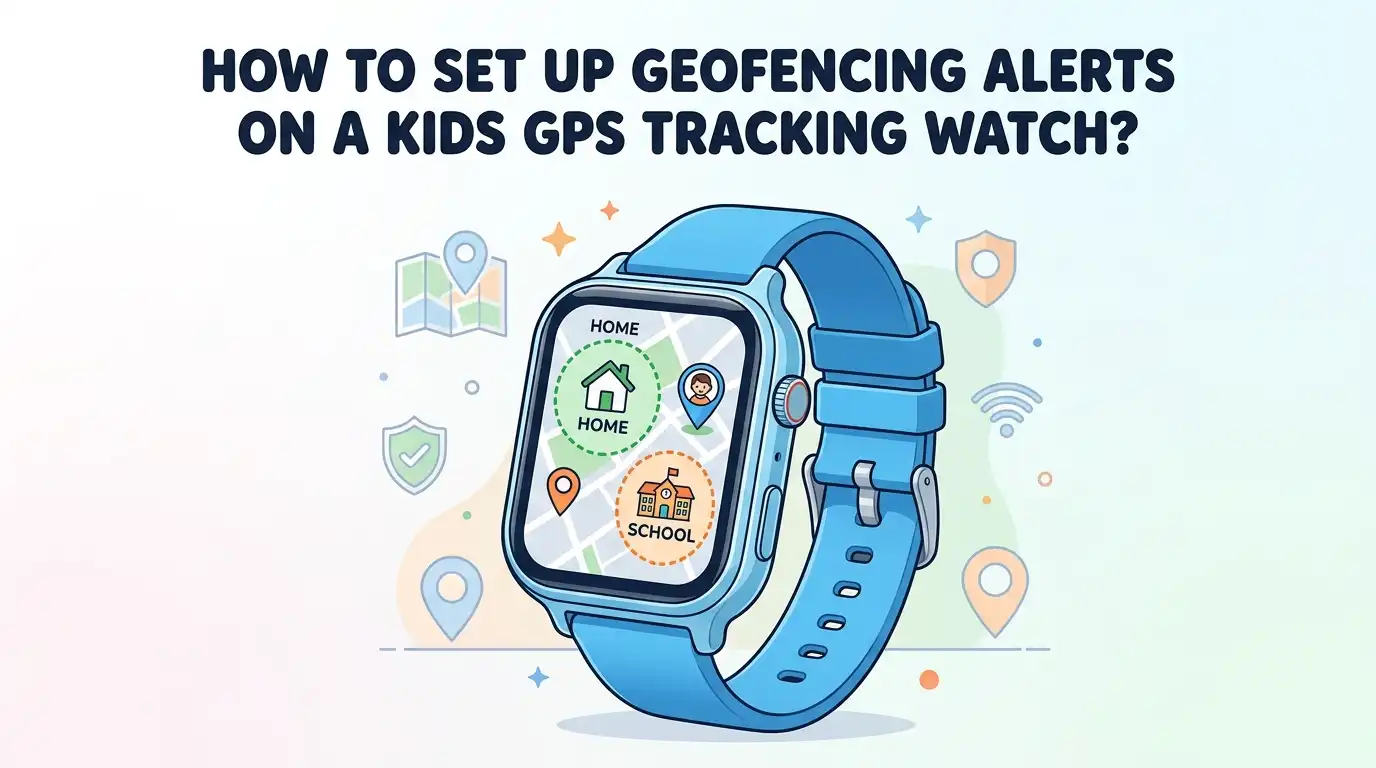
Geofencing is a digital safety bubble. You draw a circle on a map inside the parent app, and the watch quietly checks if your child is inside or outside that circle. When they cross the line, your phone gets a notification.
The watch combines GPS satellites, Wi Fi signals, and cell tower data to figure out its exact spot. GPS handles outdoor tracking. Wi Fi helps indoors. Cell towers fill in the gaps. This trio is what makes alerts possible even when your child steps into a shopping mall.
It is important to know that the child does not feel anything when they cross a fence. There is no buzz, no warning, no invisible barrier. The system only alerts you, the parent. That makes it a notification tool, not a containment tool.
Step One: Choose the Right Parent App and Pair the Watch
Every kids GPS watch comes with its own companion app, usually called something like SeTracker, TickTalk, Gabb, or Bark Connect. Download the official version from the Google Play Store or Apple App Store. Avoid third party copies, since they often miss key features.
Create your parent account using a valid email and a strong password. Then power on the watch and grab the device ID or QR code printed on the box or under the strap. Scan it inside the app to pair the watch.
Pros: The pairing process is usually quick and gives you full control. Cons: Some watches require a paid SIM plan before geofencing works, since alerts travel over cellular data. Always check the subscription cost before buying, because it can add a monthly fee that surprises parents later.
Step Two: Enable Location Services and Permissions
A geofence cannot work if the watch cannot share its location. Open the parent app and look for Location, Tracking Mode, or Positioning Settings. Turn every option on, including GPS, Wi Fi positioning, and LBS, which means Location Based Service using cell towers.
On your own phone, allow the app to send notifications, run in the background, and access your location. If you skip these permissions, alerts may arrive late or not at all. Apple and Android both restrict background apps to save battery, so the app must be whitelisted.
Pros: Full permissions give you real time alerts and accurate map views. Cons: Always on tracking drains the watch battery faster, sometimes cutting daily life from 36 hours down to 12 hours. Balance accuracy with how often your child can recharge.
Step Three: Open the Safe Zone or Geofence Menu
Inside the app, scroll through the main menu and find a section called Safe Zone, Geo Fence, Safety Area, or Perimeter Alert. The name varies, but the function is the same. Tap the plus sign to create a new zone.
A map will pop up showing your current location. You can drag the pin to any address. Many apps let you type the address directly, which is faster than zooming around the map. Common starting points include your home, your child’s school, a grandparent’s house, and the local park.
Pros: Most apps allow multiple geofences at once, often up to 10 or 20 zones. Cons: Some budget watches limit you to one or two zones, which is restrictive for busy families with after school activities. Read the spec sheet before buying if multiple zones matter to you.
Step Four: Pick the Right Radius for Each Zone
The radius is the most important setting in the entire process. A radius that is too small will trigger constant false alarms because of GPS drift. A radius too large will let your child wander far before you know anything is wrong.
For a typical home, start with a radius between 150 and 300 meters, or about 500 to 1000 feet. For a school, match the radius to the school grounds plus the parking lot. For a park, cover the play area and any nearby exits.
Pros: A well sized radius cuts false alerts dramatically and feels reliable day after day. Cons: Most kids watches only allow circular shapes, which is awkward if your home sits near a river, a busy road, or an odd shaped property line. You may need to shift the center point to compensate for natural hazards.
Step Five: Name Each Zone Clearly
This step seems small, but it saves your sanity later. When you have five or six geofences active, a generic name like Zone 1 tells you nothing during a busy workday. Use clear labels such as Home, Lincoln Elementary, Grandma’s House, Soccer Field, or Aunt Mia’s Apartment.
Some apps also let you choose an icon for each zone. A house, a school book, or a soccer ball makes the map easier to read at a glance. If you and your partner share the app, agree on consistent names so both adults read alerts the same way.
Pros: Clear naming means you understand alerts instantly, even if you glance at your phone during a meeting. Cons: Renaming zones later can sometimes reset the alert history on certain apps, so pick good names the first time. Take a minute now to save trouble later.
Step Six: Choose Entry, Exit, or Both Alert Types
Most apps let you decide which direction triggers a notification. The three common options are enter only, exit only, or both. For a school zone, many parents pick enter and exit, so they know when their child arrives and when they leave at the end of the day.
For a home zone, exit alerts matter most during weekends or after school. For a grandparent’s house, entry alerts confirm safe arrival. Think about the purpose of each zone before checking the boxes.
Pros: Custom alert types reduce notification overload and keep your phone quiet during normal moments. Cons: Some lower priced watches only offer both directions with no way to turn one off, which means double the buzzing. If quiet matters, check this feature before buying.
Step Seven: Set the Active Time Schedule
Smart geofencing apps let you schedule when each zone is active. A school zone only needs alerts on weekdays between 7 a.m. and 4 p.m. A bedtime zone for your home might run from 9 p.m. to 6 a.m.
Open the schedule option inside the geofence settings and pick the days and time blocks. This stops your phone from buzzing at midnight when your child rolls over in bed and the GPS jitters slightly outside the zone. Scheduling makes the system feel polished and respectful of your attention.
Pros: Scheduled zones cut false alarms massively and feel custom built for your family routine. Cons: Not every watch supports schedules, especially older models or watches under fifty dollars. If you find scheduling missing, you can manually pause zones during off hours instead.
Step Eight: Test Each Geofence in Real Life
Never trust a fresh geofence until you walk it. Put the watch on your wrist or in your pocket and stroll past the boundary line. Wait for the alert. Then walk back inside the zone and wait again. A reliable watch will ping you within 30 seconds to 3 minutes.
If alerts never arrive, check your phone notification settings, the watch signal bars, and the app permissions. Sometimes a quick restart of the watch fixes stuck location data. Try the test at different times of day, since cell signals shift.
Pros: Real world testing reveals weaknesses before an emergency. Cons: Testing takes time and effort, and you may need to adjust the radius a few times before alerts feel right. Treat it like tuning a guitar, small turns matter.
Step Nine: Handle False Alarms and Drift
Even the best watch will send false alerts now and then. GPS bounces off tall buildings, trees, and metal roofs. Wi Fi signals shift when neighbors change routers. This is called GPS drift, and it is normal.
If you get repeated false alerts in the same spot, try moving the center pin by 20 or 30 feet, or expand the radius slightly. If the drift only happens indoors, ask your child to keep the watch face up rather than tucked under a sleeve. A clear sky view helps GPS lock on faster.
Pros: Small tweaks usually solve most drift problems within a day or two. Cons: No watch is perfect, and accepting occasional false alerts is part of using this technology. Stay calm when a stray ping arrives, then call your child to confirm.
Step Ten: Combine Geofencing With Other Safety Features
Geofencing works best as part of a larger toolkit. Most kids GPS watches include an SOS button, two way calling, voice messages, and step counters. Use these together for a complete safety net.
Teach your child how to press the SOS button if something feels wrong. Make sure trusted contacts are saved inside the watch. Talk about what to do if the watch dies or loses signal. A short, calm chat once a month keeps safety habits fresh without scaring your child.
Pros: Layered safety feels far more reliable than any single feature alone. Cons: More features mean more battery drain and slightly more complexity for younger kids to handle. Match the watch features to your child’s age and maturity.
Step Eleven: Keep the App and Firmware Updated
Manufacturers regularly release updates that improve location accuracy, fix notification bugs, and patch security gaps. Open the parent app once a month and check for updates. Inside the app, look for a Device Update or Firmware option to push new software to the watch itself.
Also keep your phone operating system current, since older versions sometimes block background alerts. Check the watch SIM data plan to make sure it has not expired, because a dead SIM stops all geofence pings instantly.
Pros: Updated software often improves geofence reliability for free. Cons: Some updates briefly reset your settings or pair codes, so write down your geofences before applying a major update. A quick screenshot of the safe zones list is enough.
Frequently Asked Questions
How accurate are geofencing alerts on a kids GPS watch?
Most kids watches stay accurate within 16 to 50 feet outdoors. Indoors, accuracy may drop to 100 feet or more. Weather, tall buildings, and signal strength all affect the result. Choose a radius that gives some room for natural GPS wobble.
Can I set up more than one safe zone on the same watch?
Yes, most modern apps allow between 5 and 20 zones. Budget models may limit you to one or two. Read the product page before buying if you need school, home, and grandparent zones active at once.
Why am I getting false alerts even when my child is home?
False alerts usually come from GPS drift, weak signals, or a radius that is too small. Try widening the zone, repositioning the center pin, or moving the watch charger to a window facing room for a stronger lock.
Do geofencing alerts work without Wi Fi?
GPS works without Wi Fi, but the watch usually needs cellular data to send alerts to your phone. If the SIM plan is paused or out of coverage, alerts will be delayed or missed completely.
Will my child know when they cross a geofence boundary?
No. The fence is invisible to your child and silent on the watch. Only your phone receives the alert. If you want your child involved, talk to them openly and explain how the zones support their safety.
How long does the battery last when geofencing is active?
Battery life ranges from 12 to 48 hours, depending on the watch and refresh rate. Frequent location pings drain the battery faster. Charge the watch nightly to avoid daytime power outs.
Can geofencing replace active supervision for young children?
No. Geofencing is a helpful layer, but it is not a replacement for adult supervision. Use it together with check ins, safety talks, and other tools like door alarms for young kids who tend to wander.

Hi, I’m Lucy Jones, a dedicated watch enthusiast and reviewer. I spend my time hunting down, testing, and evaluating the most intriguing wristwatches on the market. My goal is to guide you through the overwhelming choices with honest, hands-on insights into every timepiece.